X-Payments:Updating your X-Payments connector for Magento
We recommend using the latest available version of the X-Payments connector extension at all times. As new versions of the X-Payments connector become available, you may want to update your installed connector. To update your X-Payments connector for Magento, use one of the methods below.
Manual updating
To update your X-Payments connector manually, complete the following steps:
- Unarchive the extension package and copy its contents to your Magento site's root directory (without the file package.xml, as you do not need this file for this type of installation).
- Make sure the files responsible for displaying the X-Payments Iframe have been copied to the correct design package folder.
For example, you may be using a design package other than default.
(To find out what design package you are currently using, go to System -> Configuration -> Design (General) and review the section titled Package.)
If the Current Package Name field in the Package section shows anything other than "default", you need to copy the template folders from your unarchieved X-Payments connector package to the folder of the design package listed in this field.
- Example:
The name in the Current Package Name field shows as ultimo.
In this case you need to copy the template folder and layout:
- app/design/frontend/default/default/template/xpaymentsconnector
- app/design/frontend/default/default/layout/xpaymentsconnector.xml
- to:
- app/design/frontend/ultimo/default/template/xpaymentsconnector
- app/design/frontend/ultimo/default/layout/xpaymentsconnector.xml
- Example:
Automated updating
This method requires that your Magento folders have sufficient write permissions so you can use the Magento Connect Manager in the Admin Panel. To update your X-Payments connector, complete the following steps:
- In the Magento Admin panel, go to System -> Magento Connect-> Magento Connect Manager.
- Re-enter your Magento Administration Credentials.
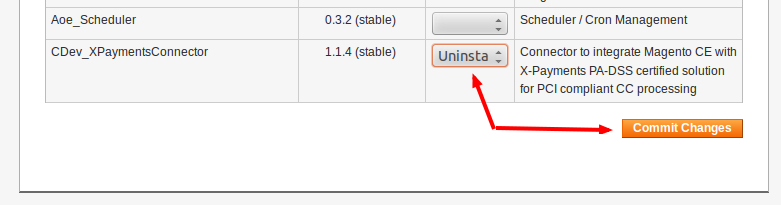
- Uninstall the currently installed version of the X-Payments connector:
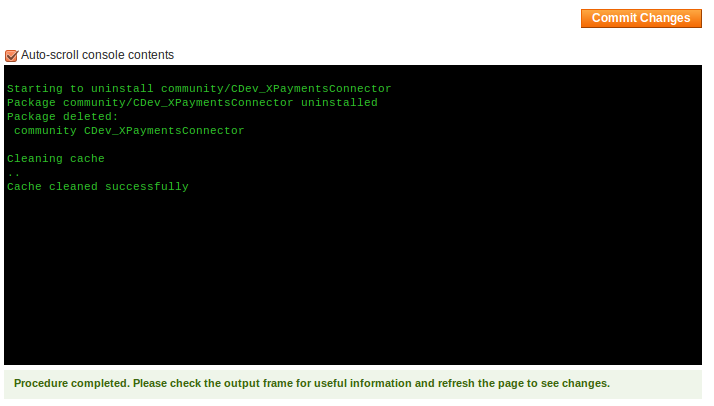
- If the uninstallation is completed successfully, you should see something like the following:
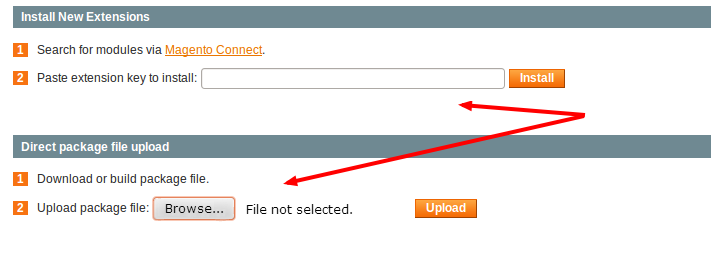
- Install the new version of the X-Payments connector using one of the following methods:
- If in the process of installing the connector you get an error like the following:
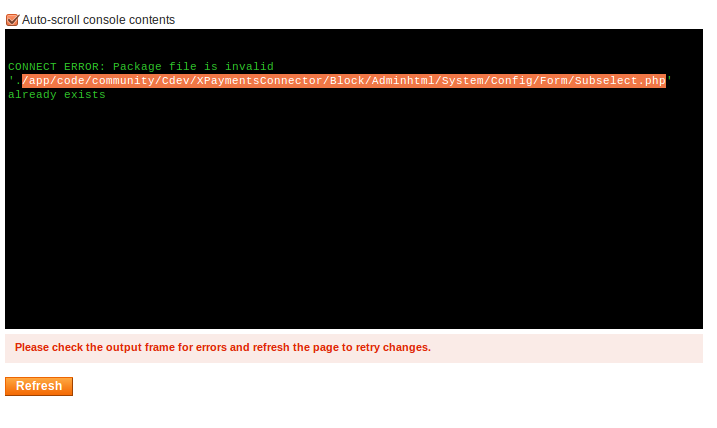
it may mean that not all the files and folders that were supposed to be removed during the uninstallation process have been removed successfully, and you will need to remove them manually.
In our example, as demonstrated by the snapshot above, the problem is caused by the file /app/code/community/Cdev/XPaymentsConnector/Block/Adminhtml/System/Config/Form/Subselect.php
To resolve this problem, we need to remove this file. In this situation, it is probably better to remove the entire folder app/code/community/Cdev/XPaymentsConnector - this way we'll get through the installation process faster.
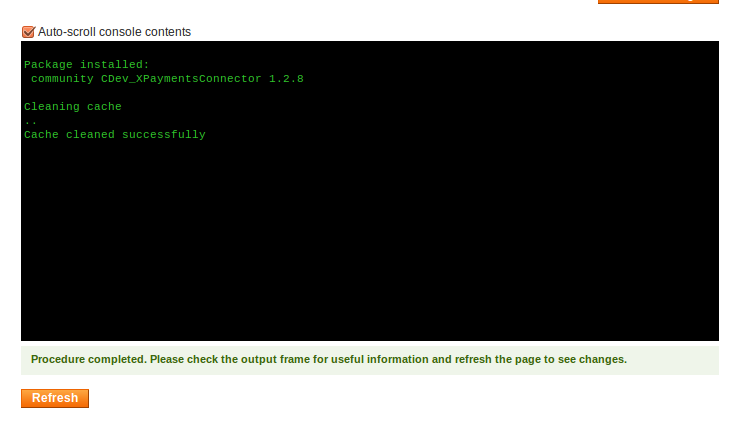
After removing all the files and folders of your old X-Payments connector installation, click the Refresh button, then try to install the extension again. You may have to do so more than once before all the files hindering the installation are removed. - In the end, you should get something like the following:
- If you are using a design package other than default, please remember to check that the X-Payments connector theme files and folders have been copied there. A detailed explanation of what needs to be done is provided in the section 'Manual updating' above (See Step 2).


