X-Payments:Customizing the interface (X-Payments 3)
- X-Payments:General information
- What's New
- System requirements
- Installation
- Two-factor user authentication
- Configuring X-Payments
- Managing users
- Customizing the interface
- Managing payments
- Unistalling X-Payments
- Upgrading
- Moving X-Payments from one host to another
- Viewing X-Payments logs
- FAQ
- Troubleshooting
- Glossary
- Supported payment gateways
- Popular Payment Methods Configuration Instructions
This section provides information on the following topics:
Customizing the Payment Form Templates
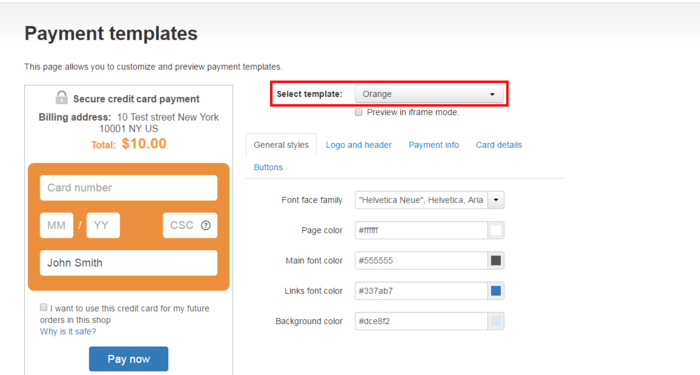
X-Payments 3.x provides an interface for the customization of its payment form. Unlinke X-Payments 2.x, where you had to use FTP to connect to X-Payments server and upload your customized templates, in X-Payments 3.x the appearance of the payment form can be changed via the section Payment templates (Settings -> Templates):

Here's what this section looks like in your X-Payments Admin back end:

At the top of the section, the template selector is provided that allows you to select the template you require:

After selecting a template from the drop-down list, you can preview the payment form based on this template on the left-hand side of the same page:

If you are going to use the payment form in iframe, it is a good idea to preview it with the Preview in iframe mode option enabled:

For the sake of example, let us create a custom template based on the template "Orange":
- In the Payment templates section of your X-Payments back end (Settings -> Templates), select the template on which you would like to base your work (in our case - "Orange"):
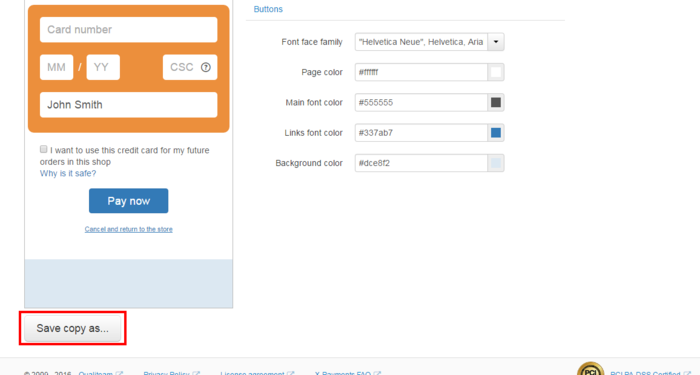
(Note how the payment form preview on the left-hand side of the page changes after a new template has been selected). - Create a copy of the template "Orange". To do so, click the button Save copy as... below the payment form preview area:
A popup form appears on the screen allowing you to enter a name for your template copy: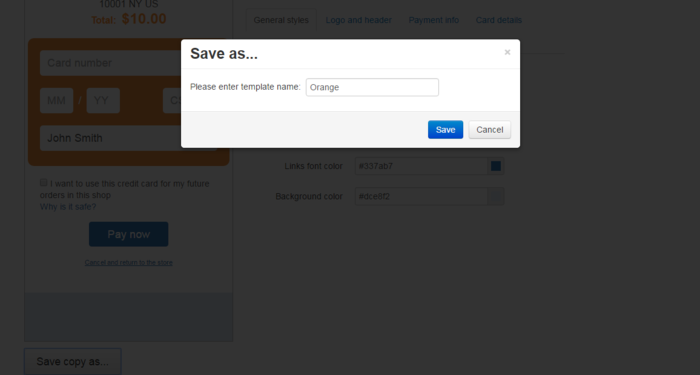
Simply replace the name of the original template with a new one (Below you can see how we changed the name "Orange" to "test") and click Save: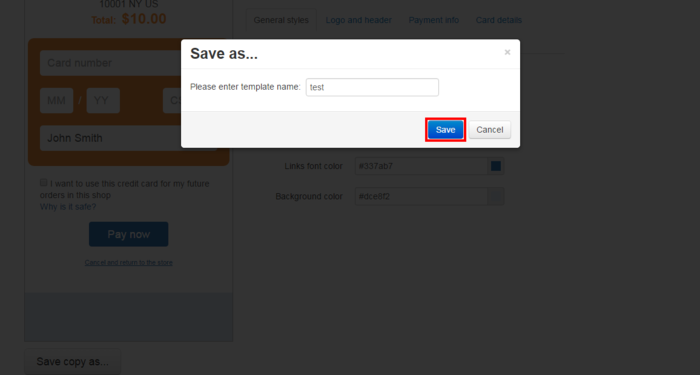
The template copy will be created: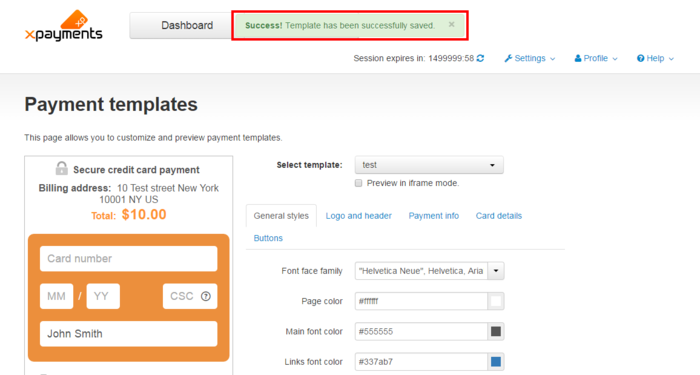
Now you can safely play with the settings on the template copy without running the risk of spoiling the original template (in our case, "Orange"). If you do not like the result, you will be able to discard the template copy and start anew at any time. - The settings below the template selector allow you to adjust the various aspects of the payment form appearance. Click the tabs (General styles, Logo and header, Payment info, Card details and Buttons) to access the settings you require.
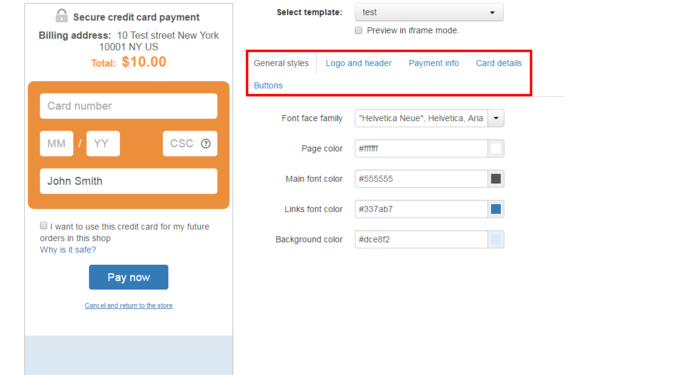
To change the template, try changing the original styles to the ones you require. Your changes will be shown on the preview in real time:
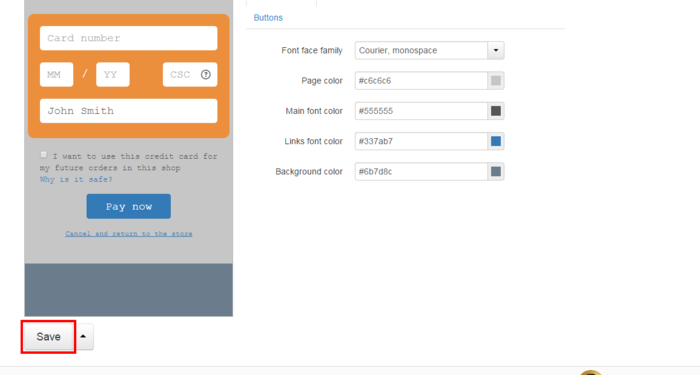
- Click Save to save the changes:
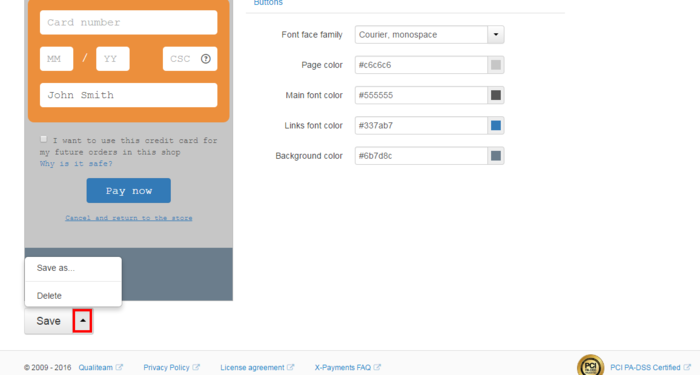
Now you have a new template which you can select when configuring your online stores. - If necessary, you can delete the template or save its copy under a new name:


Translating the User Interface / Editing Text Labels
To change the wording of certain phrases in the X-Payments Admin back end or on the payment form where your customers enter their credit card information, or to translate the X-Payments user interface to another language, you need to edit X-Payments text labels. This can be done using the section Language translations (Settings -> Languages):

Here's what this section looks like in your X-Payments Admin back end:

In X-Payments versions 2.2 and earlier, it was already possible to edit X-Payments's text labels by editing the file labels.csv (For details, see this article). In X-Payments 3.0 and later versions, the process of editing the text labels remains essentially the same; however, you no longer have to deal with CSV because the Language translations section of X-Payments provides a graphical interface that allows you to edit the text labels of your X-Payments much more easily.
To change a certain text label in X-Payments (or to translate it into another language):
- Complete the following fields:
- Language code (2-letter) - Enter the two-letter ISO code of the language for which the label is intended.
- Original label - Quote the original text label used in X-Payments (in the English language).
- Translation - Add the phrase/translation that you want to use in the place of the original label.
- Click Add new.
As a result, the updated text label/translation will be added to the list of modified text labels above. For example, in the screenshot below you can see two such labels:

Now when a user selects a language for which modified versions of some text labels have been added via the Language translations section, the text in the X-Payments user interface will be displayed based on the modified versions of the labels.